
Ahead of the International Day of Persons with Disabilities last Sunday, Apple released a short film that showcased its Personal Voice accessibility feature, which debuted earlier this year in iOS 17. Personal Voice allows users to create digital versions of their voice to use on calls, supported apps and Apple’s own Live Speech tool.
For those who are at risk of permanently losing their voice due to conditions like Parkinson’s disease, multiple sclerosis, ALS and vocal cord paralysis, not sounding like yourself can be yet another form of identity loss. Being able to create a copy of your voice while you’re still able might help alleviate the feeling that you’ll never feel like yourself again, or that your loved ones won’t know what you sound like.
All iOS 17, iPadOS 17 and macOS Sonoma users can create a personal voice in case you need it in the future — whether temporarily or for long-term use. I found the process (on my iPhone 14 Pro) pretty straightforward and was surprisingly satisfied with my voice. Here’s how you can set up your own Personal Voice, as long as you’ve upgraded to iOS 17, iPadOS 17 or macOS Sonoma (on Macs with Apple Silicon).
Before you start the process, make sure you have a window of about 30 minutes. You’ll be asked to record 150 sentences, and depending on how quickly you speak, it could take some time. You should also find a quiet place with minimal background sound and get comfortable. It’s also worth having a cup of water nearby and making sure your phone has at least 30 percent of battery.
How to set up Personal Voice on iPhone
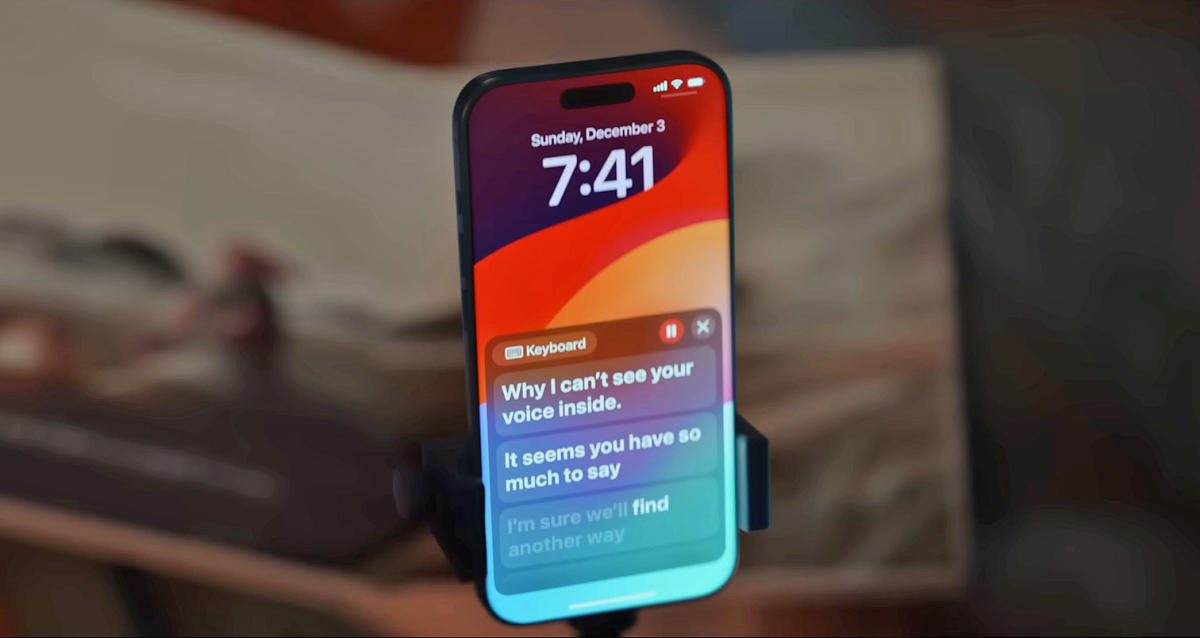
When you’re ready, go to the Personal Voice menu by opening Settings and finding Accessibility > Personal Voice (under Speech). Select Create A Personal Voice, and Apple will give you a summary of what to expect. Hit Continue, and you’ll see instructions like “Find a quiet place” and “Take your time.”
Importantly, one of the tips is to “Speak naturally.” Apple encourages users to “read aloud at a consistent volume, as if you’re having a conversation.” After you tap Continue on this page, there is one final step where your phone uses its microphone to analyze the level of background noise, before you can finally start reading prompts.
The layout for the recording process is fairly intuitive. Hit the big red record button at the bottom, and read out the words in the middle of the page. Below the record button,…